Web UI

UI

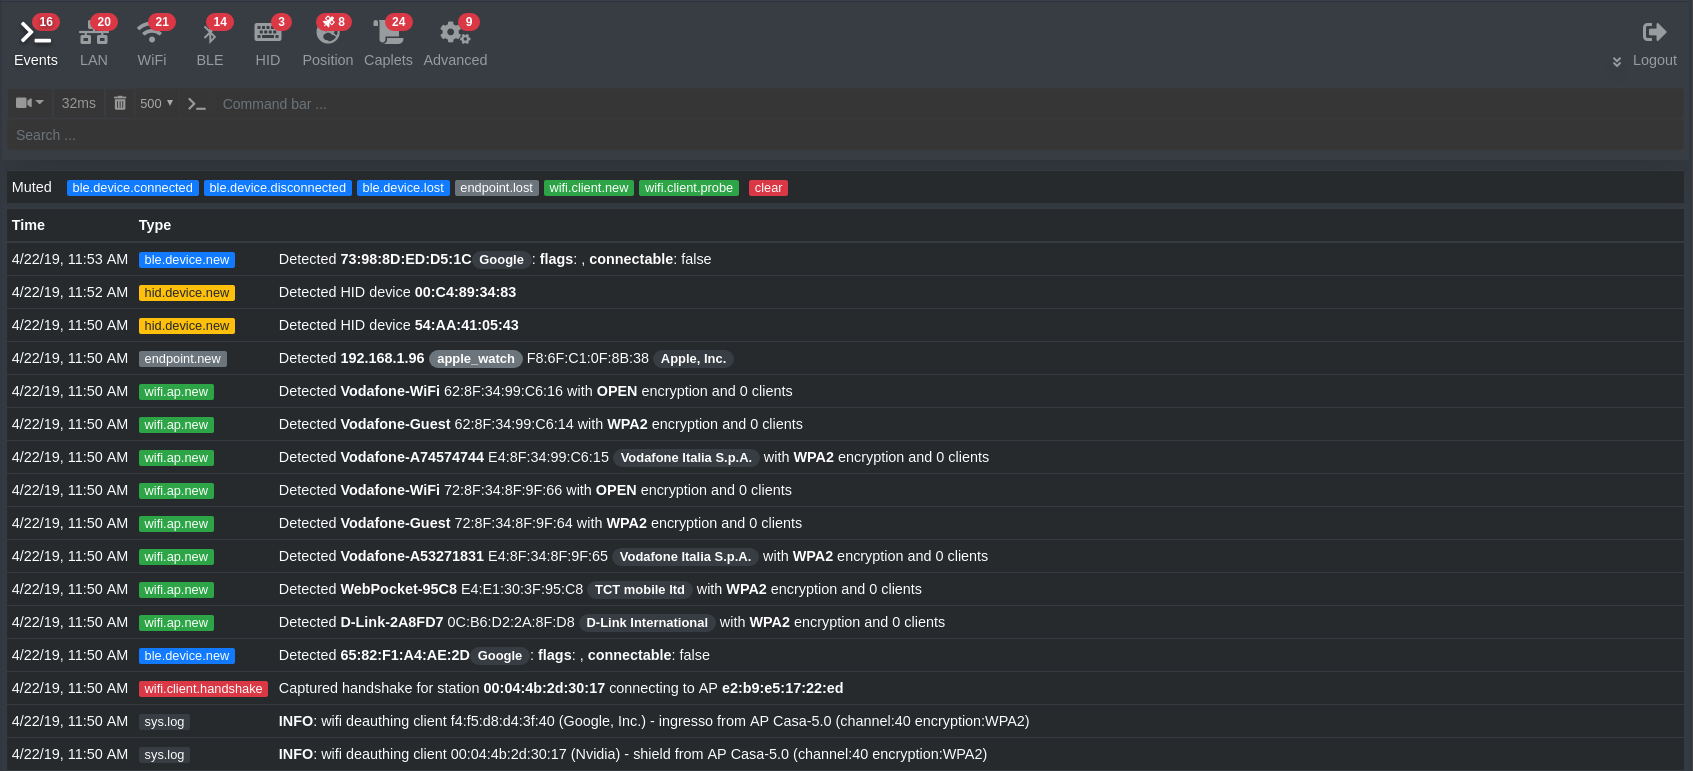
The easiest way to start playing with bettercap is using its official web user interface, in order to install it make sure you have the latest version of bettercap, then:

sudo bettercap -eval "caplets.update; ui.update; q"

Only run caplets.update the first time as every time the entire system caplets folder is replaced with the downloaded contents from github, overwriting your changes, such as the credentials, with default values. You can either backup your changes and restore them later in the system folder, or simply copy the changed caplet files in bettercap’s working directory, in which case they’ll be loaded before the ones installed system wide.

This will download and update your caplets and web ui from the latest github releases.

Local UI

If you want both bettercap and the web ui running on your computer, you’ll want to use the http-ui caplet which will start the api.rest and http.server modules on 127.0.0.1.

Edit the default credentials in /usr/local/share/bettercap/caplets/http-ui.cap and then start the ui with:

sudo bettercap -caplet http-ui

Open your browser to http://127.0.0.1/ and login using the credentials you configured in the previous step.

Remote UI

If instead you’re running bettercap on another host, say on a RaspberryPI or another machine with a different IP address, you want to use the https-ui caplet in order for the connection to the UI and the api to be protected by TLS. The caplet will bind the modules on 0.0.0.0 and generate a self signed certificate you can then allow in your browser.

Edit the default credentials in /usr/local/share/bettercap/caplets/https-ui.cap and then start the ui with:

sudo bettercap -caplet https-ui

Open your browser to https://<ip of the machine>/ and login using the credentials you configured in the previous step.